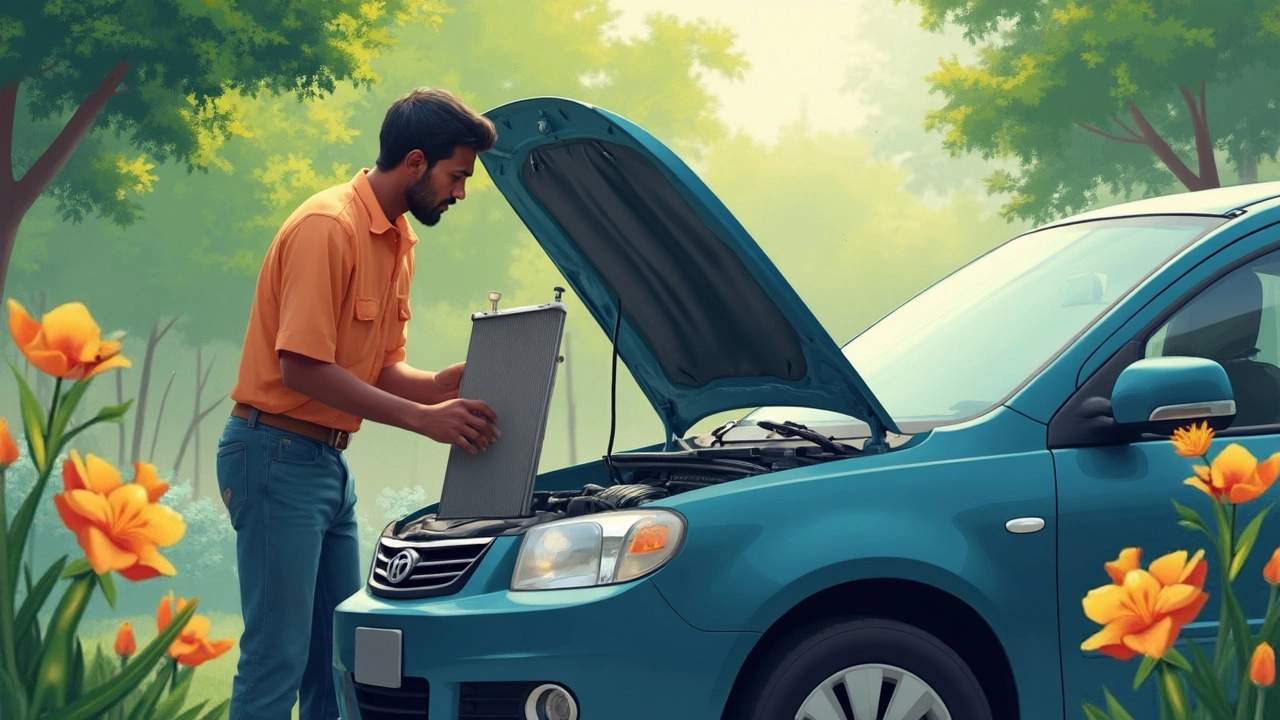
So, you're thinking about changing your radiator, huh? It might sound like a beast of a job, but with a few tips and tricks, you'll see it's not all doom and gloom. The first thing to understand is why you might need a new one in the first place. Maybe your car's overheating, or you've noticed some funky leaks. Radiators play a crucial role in keeping your engine cool, and neglecting them can lead to more serious problems.
Before you jump in, you'll want to check for a few telltale signs that it's time for a swap. Is your car overheating often? Seeing some nasty, rusty puddles under your car? It might be your radiator calling for help. But don't worry — recognizing these red flags can save you from unexpected breakdowns.
Got the green light to change it? Gather your tools! A wrench set, a screwdriver, and a drain pan are essentials. Spill some coolant while you’re at it, and you might end up feeling like you're in a slapstick comedy skit, so be ready to catch any runaway fluids with your pan. With the right prep, you can avoid a mess and get the job done way smoother than you’d think.
- Why Change a Radiator?
- Signs It's Time for a New Radiator
- Tools You'll Need
- Step-by-Step Replacement Guide
- Avoiding a Mess
- Tips for a Successful Installation
Why Change a Radiator?
Before diving into changing your car radiator, it's good to know why it's necessary. Your radiator is a key player in cooling your engine, and when it can't do its job, you're looking at potential engine overheating—a problem that can cost you big bucks if ignored.
Radiators wear out over time due to factors like internal rust, clogging from mineral deposits, or simple old age. When the efficiency of your radiator declines, your engine can start to overheat more often. This isn't just a minor inconvenience; it can lead to engine damage, which is much more costly than a radiator swap.
Visual inspections might reveal visible cracks or leaks, and let's not forget those ominous puddles of coolant under your car, which indicate something's up. Occasionally, you'll spot a rusty tint in your coolant or a sweet smell—these can be telltale signs that your radiator’s seen better days.
Think of changing your radiator as essential vehicle maintenance. Sure, it's an investment of your time, but it can lengthen the life of your car by ensuring it runs smoothly and stays cool. Regular checks and timely replacements help avoid more serious repairs down the line.
Don't forget, using your car's heater can also help you spot issues early. It's linked to the coolant system, so a poor heater performance might be a clue that a radiator replacement is due. Watching out for these signs helps keep your car in tip-top shape, avoiding unexpected car drama.
Signs It's Time for a New Radiator
There comes a point in every car's life when the old radiator just can't cut it anymore. How do you know when it's that time? Let's talk about some sure-fire signs that your car radiator is throwing in the towel and might need replacing.
One of the most obvious signals is frequent overheating. Your car is like your buddy waving a red flag, “Hey, help me out here!” When you constantly see that temperature gauge creeping into the red zone, it’s a hint your car radiator may not be doing its job.
Leaks are another red alert. Notice any coolant puddles under your car? That could mean your radiator's sprung a leak. Keep an eye out for rusty or oily fluids collecting on your driveway. Not only does this mess up your driveway, but it's a sign that something's up with your radiator.
And hey, if you hear any strange noises like clanking or hammering when your engine is running, it might be more than just a noisy neighbor. It can indicate internal damage in the radiator or connected hoses.
Does your coolant look murky? A healthy coolant should be clear, but if yours has taken on a rusty or milky appearance, it might be mixing with debris or oil — a clear cry for help from your radiator.
Lastly, take a peek at the radiator fins. If they look corroded or have started falling off, it's a sign of age-related wear and tear. It's a telltale signal that your vehicle maintenance plan should include a new radiator soon.
Keep these signs in mind, and you'll save yourself from unexpected car troubles. Spotting issues early means you'll avoid that stress-inducing moment when you're stuck by the side of the road waiting for a tow truck. And let’s face it, nobody wants that kind of drama.
Tools You'll Need
Before diving into changing that radiator, gather the right tools. Having everything on hand saves you from countless trips back to the garage, trust me.
Here's a basic list of what you'll need:
- Wrench Set: An adjustable wrench works wonders for disconnecting those stubborn radiator hoses.
- Screwdriver: Typically, a flathead and a Phillips will cover what you need for hose clamps and screws.
- Drain Pan: This is crucial. You don't want coolant spilling everywhere. It keeps things tidy and environmentally friendly.
- Cooant: Make sure to have replacement coolant ready. Draining the old stuff means you'll need fresh coolant to refill the system.
- Thread Sealant: A bit of this can prevent those pesky leaks when you put everything back together.
- Protective Gloves: A must-have to protect your hands from sharp edges and hot parts.
If you're working on a more modern car, you might need a couple of specialized tools, like a fan clutch wrench. But for most vehicles, the list above will do just fine.
Oh, and here's a handy little table showing average costs, to help with budgeting:
| Item | Average Cost |
|---|---|
| Wrench Set | $20 - $50 |
| Screwdriver Set | $10 - $30 |
| Drain Pan | $5 - $15 |
| Coolant (1 gallon) | $10 - $25 |
| Thread Sealant | $3 - $10 |
| Protective Gloves | $5 - $20 |
Make sure you've got your gear ready, and you'll be thanking yourself later when the job goes off without a hitch.

Step-by-Step Replacement Guide
Alright, folks, let's roll up those sleeves and dig into changing that car radiator. It might not be the cleanest task, but by breaking it down, you'll see it's totally doable.
- Prep Your Workspace: First, make sure your car is parked on a flat surface, the engine is cool, and you've got enough light to see what you're doing. Safety first!
- Drain the Coolant: Put a drain pan under the radiator. Open the radiator cap and let the coolant drain by twisting the drain plug at the bottom of the radiator. Remember to dispose of the old coolant responsibly.
- Disconnect the Components: Time to unplug a few things. Carefully disconnect the negative battery cable, then remove any shrouds or protective panels if your car has them. Disconnect the fan and any associated wires.
- Remove the Radiator Hoses: Loosen the clamps holding the upper and lower radiator hoses, then slide them off. If the hose is stuck, a gentle twist should help.
- Unscrew the Radiator: With hoses and cables clear, remove any bolts securing the radiator. Depending on the car, there might be a few bolts at the top and sides. Keep those screws handy.
- Install the New Radiator: Slide the new radiator in place, ensuring all the mounting holes line up. Thread in and tighten those screws you kept handy.
- Reconnect Everything: Attach the new radiator hoses and secure them with clamps. Don't forget to reconnect the fan and other wires. Then, put back any shrouds you might have removed earlier.
- Fill with Coolant: Slowly pour new coolant into the radiator, ensuring you’ve followed the right mix ratio per your vehicle manual. Start up the engine and let it run, topping off the coolant as needed.
- Check for Leaks: With everything in its new shining glory, check for leaks. If there are any, you'll want to tighten and recheck connections.
- Test Drive: Finally, take a spin around the block to see how everything holds up. Keep an eye on the temperature gauge to ensure no overheating.
Congratulations! You're one step closer to being a DIY auto repair hero. Just remember, it's all about patience and taking one step at a time. Happy fixing!
Avoiding a Mess
Jumping into a radiator replacement might have you worried about turning your garage into a scene from a disaster movie. But hey, it doesn't have to be that way. Keeping things neat and tidy is all about having a plan and being ready for those sneaky coolant spills.
First off, make sure you've got a solid workspace. Throw down some old towels or, even better, use a drip tray to catch any escaping fluids. It's a simple step, but it'll save your driveway from looking like an abstract painting in coolant hues.
What about removing the old radiator? Think of it as decluttering – carefully unbolt it, and keep the screws and parts organized. An egg carton can be a lifesaver for this, letting you separate and label those little bits so you know what goes where when putting everything back together.
Securely drain the coolant into a container that's made for the job. Radiators and fluid are pals for life; you don't want to splash this all over yourself or your gear. Once it's fully drained, cap it off to avoid any mishaps during the swap.
Oh, and pay attention to the car radiator hoses. They're a common culprits of leaks when not reconnected right. Check they're snug and tight, so when you start your engine, there's no surprise shower.
Radiator replacement isn't just about wrenching hardware; it's a bit of a science project too. If you're a numbers person, keep this in mind:
| Action | Timespan (Approx.) |
|---|---|
| Draining Coolant | 15 minutes |
| Removing Old Radiator | 20 minutes |
| Replacing New Radiator | 30 minutes |
So, that's about an hour when keeping things tidy. Better than an afternoon of scrubbing your garage floor clean, right?
In the end, DIY auto repair is all about precision and patience. With these tips, swapping out your radiator will feel like cracking a puzzle rather than wrestling with chaos, leaving you and your car refreshed rather than stressed.
Tips for a Successful Installation
Getting that shiny, new radiator snugly in place doesn't have to be like threading a needle. With a bit of patience and these handy tips, you'll be cruising smoothly in no time.
First things first, double-check your part number before you even start to unbox. The last thing you want is to realize you've got the wrong radiator after you've already wrestled the old one out.
- Prep your work area: Clear out enough space around your vehicle. Crowded spaces make accidents way more likely.
- Drain the coolant carefully: Before you start removing hoses, make sure all the coolant is drained. Use a drain pan and keep lots of cloths nearby to catch stray drips.
- Reconnect the hoses with care: Don't rush reconnecting parts. Double-check your work as you go. A loose hose could lead to leaks or a boil over on the road.
- Use anti-seize on bolts: When you're putting in the new radiator, smear a tiny bit of anti-seize on your bolts to avoid any hassle next time you need to remove them.
Installing a new radiator also means checking all related components. Take a peek at your thermostat and hoses. If they look worn, this is the perfect time to replace them too.
You might wonder if it's necessary to flush the cooling system after putting in your new radiator. The answer is a big yes! It helps remove any debris or old coolant residues lingering in the system.
When it's time to refill with coolant, make sure it's mixed at the right ratio. Too much water or coolant isn't good for the system.
Got everything hooked up and tightened down? Do a quick run test. Start your engine and let it idle while checking for leaks. Monitor the temperature gauge to make sure everything stays cool under pressure.
These tips should have you set on the path to a smooth and mess-free radiator replacement. Just take it slow, keep a steady hand, and you’ll nail this DIY repair like a pro.


