Fuel Pump Replacement Time Calculator
Estimate how long it will take to replace your vehicle's fuel pump based on your specific circumstances. This calculator uses data from real-world replacement jobs to give you a more accurate time estimate than general averages.
Input Your Vehicle Details
Quick Takeaways
- Typical DIY removal: 2-4 hours; professional shop: 1-2 hours.
- Vehicle make, access point, and fuel system type are the biggest time drivers.
- Having the right tools (torque wrench, OBD‑II scanner, service manual) can shave 30 minutes off the job.
- Safety first: relieve fuel pressure, work in a well‑ventilated area, and wear eye protection.
- Follow the step‑by‑step checklist to avoid common pitfalls like stripped bolts or mis‑routed hoses.
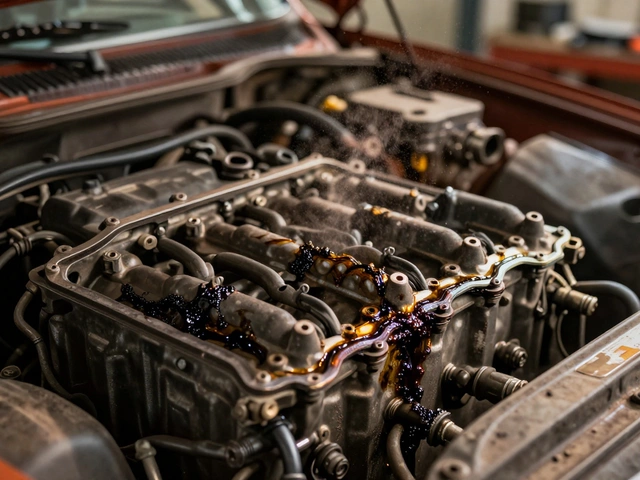
What a Fuel Pump Actually Does
Fuel Pump is a mechanical or electric device that moves gasoline from the tank to the engine at a precise pressure. Modern cars mostly use electric pumps mounted inside the fuel tank, but older models may have mechanical pumps driven by the camshaft. The pump’s job is to ensure each cylinder gets the right amount of fuel at the right moment, which directly affects power, emissions, and fuel economy.
Why Timing Matters
Knowing the fuel pump replacement time helps you plan a weekend DIY or decide whether a quick‑visit shop is worth the extra cost. If you underestimate the time, you might be stuck on the driveway with a half‑finished job and a drained fuel tank.
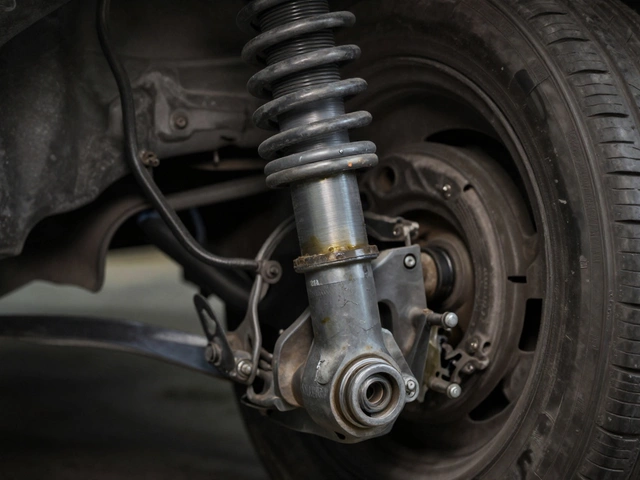
Key Factors That Influence How Long It Takes
- Vehicle design: Some cars have a rear‑access panel that slides off, while others require dropping the rear seat or even the fuel tank.
- Fuel system type: In‑tank electric pumps need a fuel pressure relief step; external mechanical pumps involve fewer pressure‑release steps.
- Tool availability: Having a proper Torque Wrench allows you to tighten bolts to manufacturer specs, preventing leaks later on speeds up the process.
- Experience level: A seasoned DIYer can complete the job in roughly half the time of a first‑timer.
- Condition of surrounding parts: Corroded fuel lines or a stuck fuel filter can add unexpected delays.
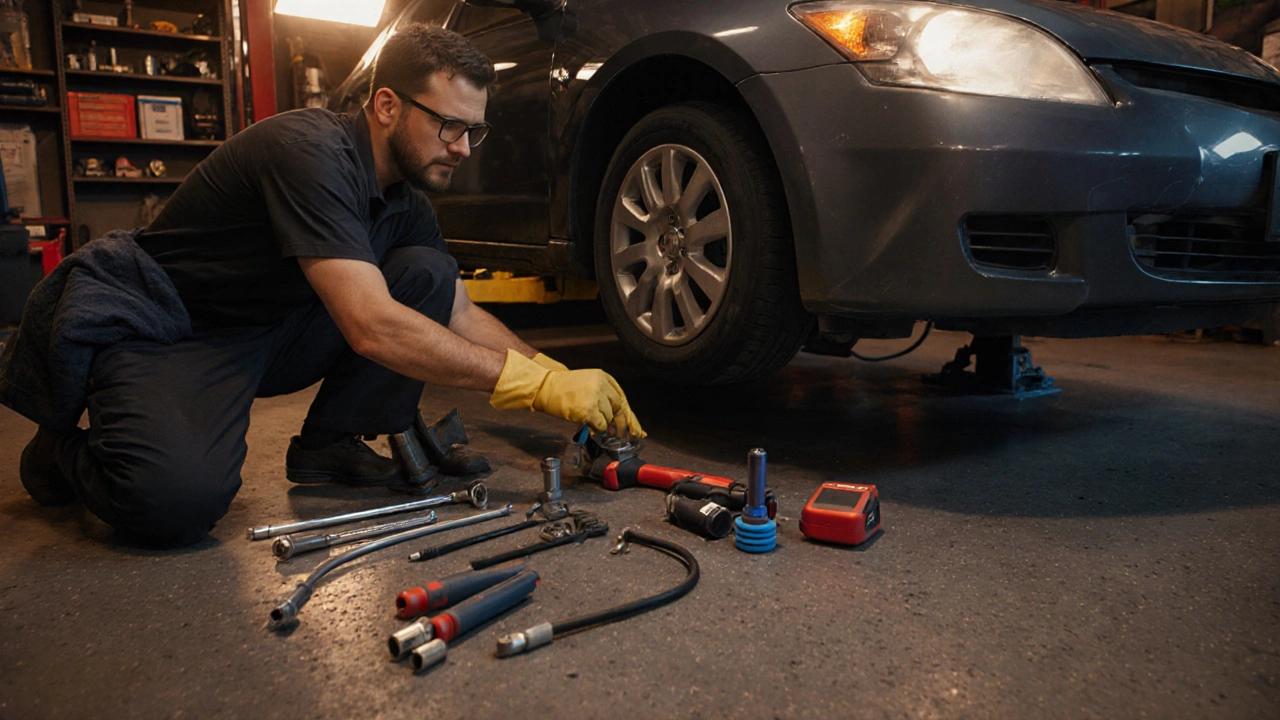
Preparation Checklist
- Gather the Automotive Service Manual for your specific make, model, and year. It shows exact bolt torque values and removal sequences.
- Park the car on a flat surface, engage the parking brake, and disconnect the battery.
- Relieve fuel pressure:
- Locate the Fuel Pressure Regulator or relieve valve and carefully release pressure into a suitable container.
- Have a Car Jack and jack stands ready if you need to lift the rear of the vehicle.
- Set up a clean work area and keep a fire‑extinguisher nearby.
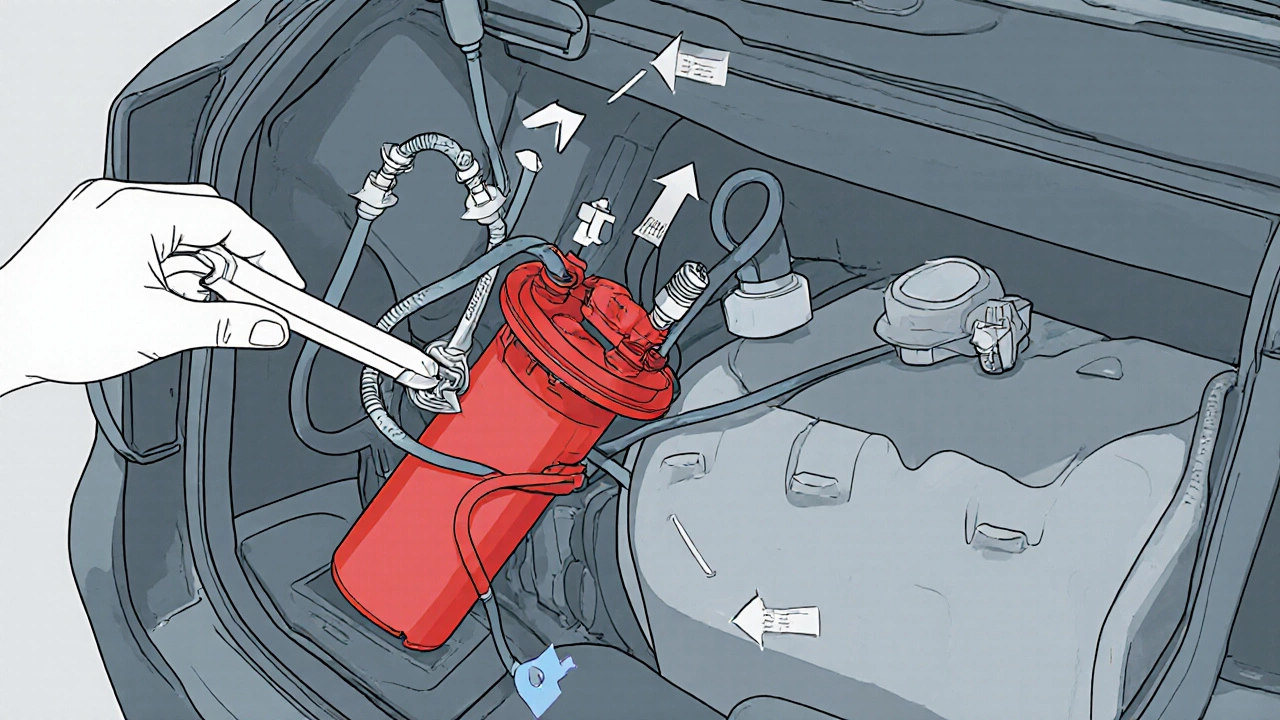
Step‑by‑Step: Removing the Fuel Pump
- Remove the rear seat or access panel as outlined in the service manual.
- Disconnect the Fuel Lines that run from the tank to the engine. Use a line‑pull tool to avoid damaging the threads.
- Unplug the electrical connector from the pump. If your vehicle uses an OBD‑II Scanner to clear fuel‑pump error codes, do this now.
- Locate the mounting bolts (usually 2-4) and remove them with the appropriate socket.
- Gently lift the pump out of the tank. Watch for the Fuel Filter if it is integrated with the pump assembly. Place the old pump on a drip‑free surface.
Step‑by‑Step: Installing the New Fuel Pump
- Compare the new pump with the old one to ensure correct model and flow rating.
- Insert the new pump into the tank, making sure the sealing gasket sits evenly.
- Re‑install the mounting bolts and torque them to the specification in the service manual (usually 10-15 Nm).
- Reconnect the fuel lines, ensuring they click into place and are not cross‑threaded.
- Plug the electrical connector back in.
- Re‑attach the rear seat or access panel.
- Reconnect the battery, then start the engine. Listen for a steady hum-this means the pump is pressurizing correctly.
- Use an OBD‑II Scanner to clear any stored fault codes and verify the system is error‑free.
DIY vs. Professional: Time Comparison
| Scenario | Typical Time | Key Variables |
|---|---|---|
| DIY on a sedan with rear‑access panel | 2-4 hours | Tool readiness, experience, condition of fuel lines |
| DIY on a SUV requiring tank removal | 4-6 hours | Truck jack setup, need for tank drop‑out, corrosion |
| Professional shop (standard sedan) | 1-2 hours | Shop lifts, pre‑charged test equipment |
| Professional shop (complex vehicle) | 2-3 hours | Specialty tools, vehicle‑specific procedures |

Tools & Safety Gear You Really Need
- Torque Wrench - to hit exact bolt specs and avoid leaks.
- Socket set with extension - for hard‑to‑reach mounting bolts.
- Fuel line disconnect tool - prevents stripped fittings.
- OBD‑II Scanner - clears error codes and checks pump operation.
- Safety glasses and nitrile gloves - protect from fuel splashes.
- Fire‑resistant blanket - place under the work area as an extra precaution.
Common Pitfalls and How to Dodge Them
- Forgot to relieve pressure: Sparks can ignite fuel vapor. Always follow the pressure‑relief step.
- Cross‑threading fuel lines: Use a line‑pull tool and double‑check thread direction.
- Using the wrong torque: Over‑tightening can crack the tank; under‑tightening leads to leaks.
- Neglecting the fuel filter: A clogged filter will cause the new pump to run hot quickly.
- Skipping the code clear: The engine may stay in limp mode even after a successful install.
Final Checklist Before You Call It a Day
- Fuel pressure is stable (check with a gauge if you have one).
- No fuel leaks around the pump, lines, or filter.
- All bolts torqued to spec.
- OBD‑II scanner shows no pending codes.
- Engine runs smooth for a few minutes, then idle steady.
Frequently Asked Questions
How long does a typical fuel pump replacement take on a car with a rear‑access panel?
For most sedans and hatchbacks, a competent DIYer can finish the job in roughly 2 to 4 hours. The bulk of the time is spent relieving fuel pressure and reconnecting the lines.
Do I need to disconnect the battery before removing the pump?
Yes. Disconnecting the battery eliminates any risk of accidental short‑circuits when you unplug the pump’s electrical connector.
Can I replace the fuel pump without dropping the tank?
Only on vehicles that have an external, top‑mounted pump. Most modern cars have the pump sealed inside the tank, so the tank must be lowered or the access panel removed.
What torque setting should I use for the pump mounting bolts?
Consult the automotive service manual for your make and model; typical values range from 10 Nm to 15 Nm. Using a torque wrench ensures the seal remains intact.
Do I have to replace the fuel filter when I change the pump?
It’s a good idea. A fresh filter prevents debris from circulating through the new pump, extending its life.