Radiator Replacement Time Estimator
Ever wondered how many hours you’ll actually spend swapping out a busted radiator? Whether you’re a DIY enthusiast eyeing the garage or a car owner budgeting for a shop visit, the answer isn’t a one‑size‑fits‑all. The time needed hinges on the make of the vehicle, the type of radiator, the tools at hand, and the level of experience. Below we break down every factor, walk through a step‑by‑step guide, and compare a shop job to a home‑garage project so you can plan your schedule (and your coffee breaks) with confidence.
Where the Radiator Lives in the Cooling System
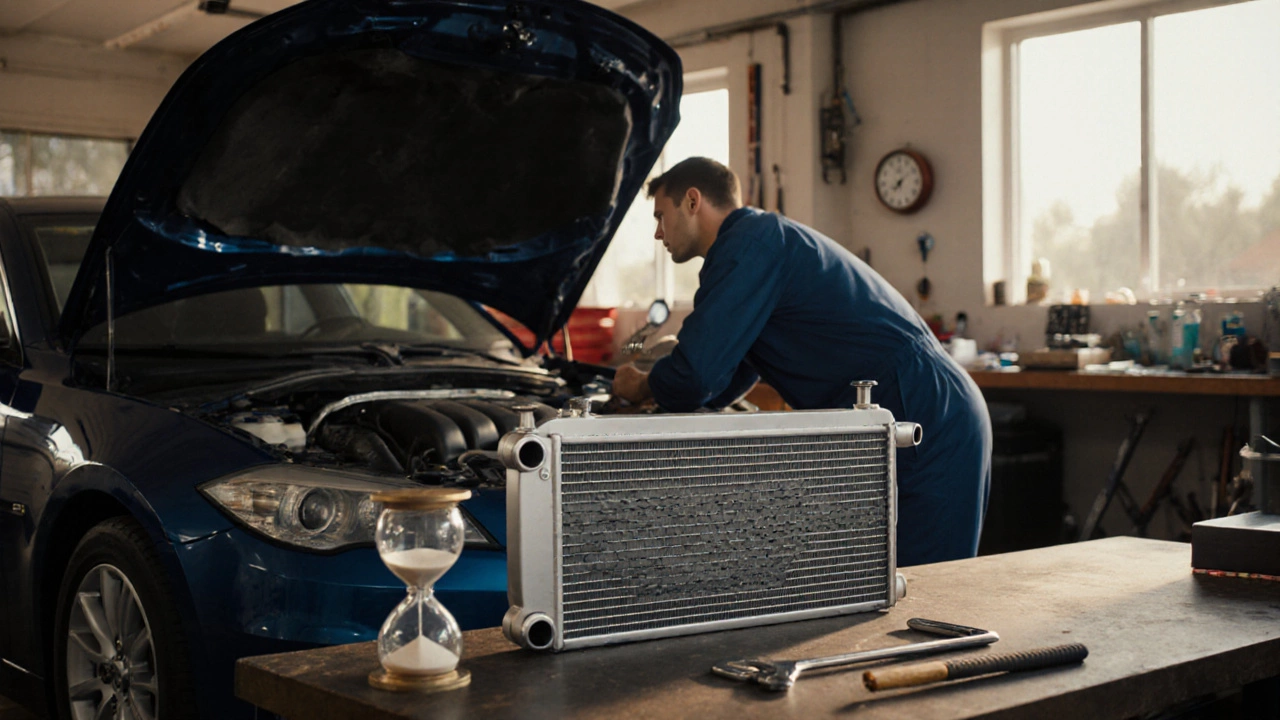
In a modern engine, the car radiator is a heat‑exchanger that draws excess heat from the engine coolant and releases it to the ambient air. It works hand‑in‑hand with the cooling system, a network that includes the thermostat, the radiator fan, and the coolant fluid itself. When the radiator fails, the whole system can overheat in minutes, so a prompt replacement keeps the engine healthy and the warranty intact.
Key Factors That Influence Replacement Hours
- Vehicle architecture: A front‑engine sedan with a simple slip‑on radiator can be out in 2‑3 hours, while a rear‑engine sports car with a tightly packed cooling package may need 5‑7 hours.
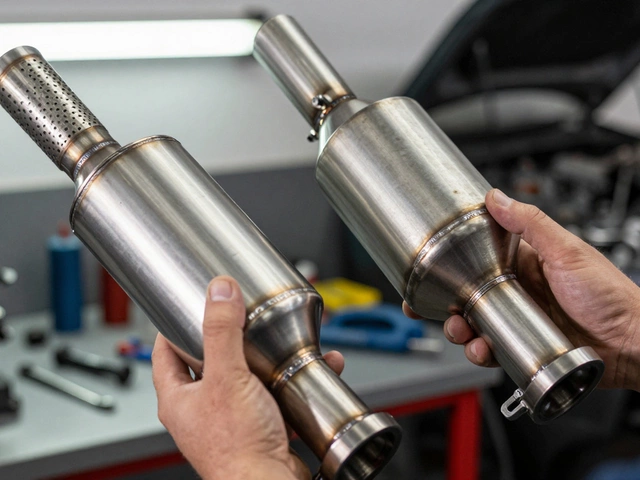
- Radiator type: Aluminum radiators are lighter and often have fewer mounting bolts than older plastic‑core units, shaving off an hour or so.
- Tool & equipment availability: Having a proper jack, stands, coolant drain pan, and torque wrench can cut time dramatically versus improvising with household tools.
- Experience level: A seasoned professional mechanic typically finishes faster than a first‑time DIY enthusiast who may spend extra time double‑checking connections.
- Additional components: If the thermostat or fan needs replacement at the same time, add 1‑2 hours per component.
Typical Time Ranges for Common Vehicle Classes
Below is a quick snapshot of average labor hours reported by Australian garage surveys for 2024‑25 model years.
| Vehicle Class | Typical Hours (DIY) | Typical Hours (Shop) |
|---|---|---|
| Compact hatchback (e.g., Toyota Corolla) | 2-3 | 1.5-2 |
| Mid‑size sedan (e.g., Mazda6) | 3-4 | 2-2.5 |
| SUV / crossover (e.g., Hyundai Tucson) | 4-5 | 3-3.5 |
| Performance coupe (e.g., BMW M4) | 5-7 | 4-5 |
| Rear‑engine sports car (e.g., Porsche 911) | 6-9 | 5-6 |
Step‑by‑Step DIY Radiator Swap (Estimated Hours)
- Gather tools and safety gear (15 min). You’ll need a floor jack, jack stands, socket set, screwdriver set, drain pan, and a torque wrench. Wear gloves and safety glasses.
- Drain the coolant (10 min). Open the radiator cap, locate the drain plug, and let the old coolant flow into the pan. Capture the fluid for proper disposal.
- Disconnect hoses and lines (20 min). Loosen the upper and lower radiator hoses, the heater hose, and any transmission cooler lines. Mark each hose with tape to avoid mix‑ups.
- Remove the fan assembly (15-30 min). Depending on the model, you may need to unbolt the electric fan shroud and the fan motor. Take photos before removal for reference.
- Unbolt the radiator (10-20 min). Most radiators have 4-6 mounting bolts. Support the radiator with a helper or a strap while you remove the last bolt.
- Extract the old radiator (5 min). Carefully lift it out, watching for any remaining hose clips or brackets.
- Prep the new radiator (10 min). Verify that the coolant ports line up, transfer any O‑rings, and pre‑fill the core with a small amount of coolant to avoid air pockets.
- Install the new radiator (15 min). Lower it into position, hand‑tighten the mounting bolts, then torque them to the manufacturer’s spec (usually 8-12 Nm).
- Re‑attach fan, hoses, and lines (20 min). Follow the photos you took earlier, ensuring each hose clicks into its proper tab.
- Refill coolant and bleed air (15 min). Use a 50/50 mix of coolant and distilled water. Run the engine with the radiator cap off until the thermostat opens, then top off.
- Check for leaks and test drive (10 min). Look around all connections, then take the car for a short drive. Re‑inspect after the engine cools.
Adding up the estimates gives a total of roughly radiator replacement time of 2.5-4 hours for most everyday cars when you’re reasonably organized. Newbies may need an extra hour for unfamiliar fasteners or a mis‑routed hose.

What a Professional Shop Does (Why the Hours Are Lower)
A trained professional mechanic follows a streamlined process: they have a lift that eliminates the need for a floor jack, premade coolant drain kits, and a parts cart that keeps everything at arm’s reach. The shop will typically allocate 1.5-2 hours for a simple sedan and 3-4 hours for larger or performance models. The lower hour count translates into a labor charge of roughly $120‑$200 per hour in Adelaide, meaning the labor bill can range from $180 to $800 depending on vehicle complexity.
Tips to Speed Up the Job and Avoid Common Pitfalls
- Label every hose before removal. A cheap zip‑tie with a marker saves you from guessing later.
- Check for rusted bolts ahead of time. Carry a penetrating oil spray; a stuck bolt can add an hour or more.
- Use a torque wrench. Over‑tightening can crack a plastic‑core radiator; under‑tightening can cause vibration and leaks.
- Dispose of old coolant responsibly. Many council drop‑off points in South Australia accept used coolant for free.
- Before you start, verify the replacement part’s dimensions. Some aftermarket radiators are slightly longer, which may require a trim on the mounting bracket.
Pre‑Replacement Checklist
- Confirm the exact engine model and year.
- Order the correct aluminum radiator or plastic radiator based on OEM specifications.
- Gather all required tools: jack, stands, socket set, torque wrench, coolant drain pan, hose clamps, and a new set of O‑rings.
- Secure a safe workspace with good lighting and ventilation.
- Plan for at least 2 hours of coolant disposal and recycling.
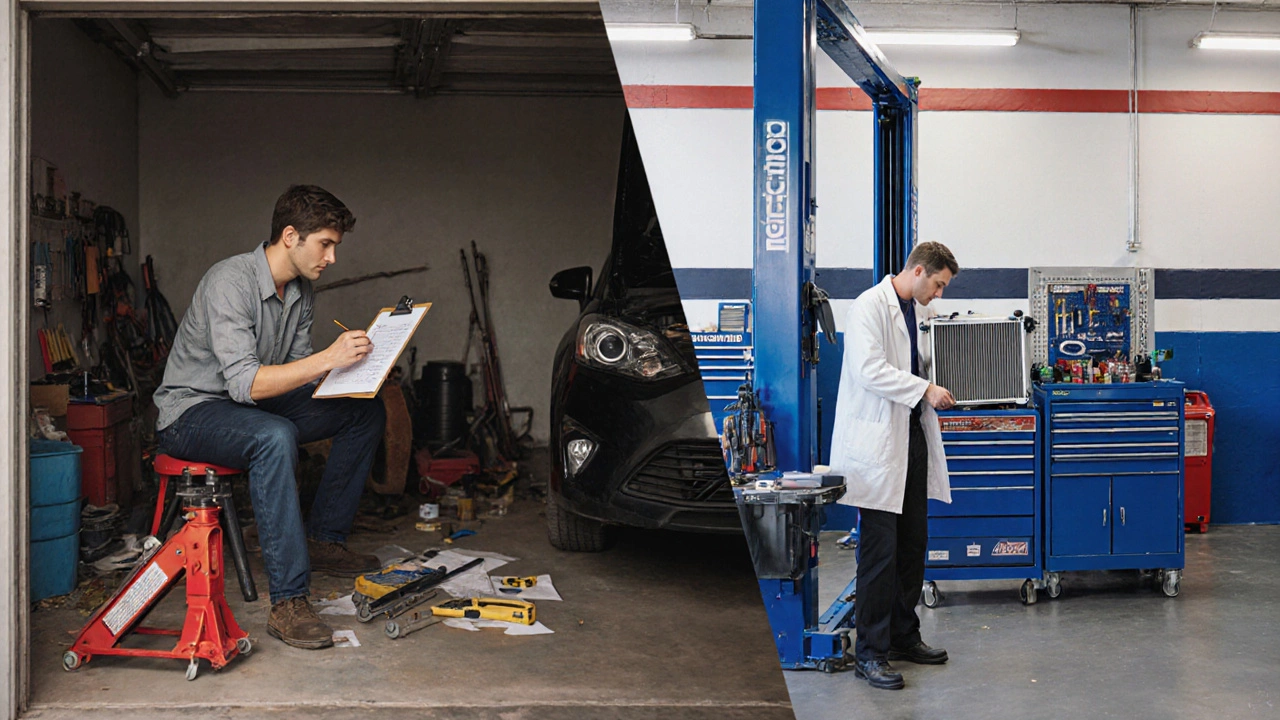
DIY vs. Professional: Quick Comparison
| Aspect | DIY | Professional Shop |
|---|---|---|
| Average Hours | 2.5-4 | 1.5-4 |
| Cost (Labor Only) | $0 (your own time) | $120‑$200 per hour |
| Tools Required | Basic hand tools + jack | Lift, coolant recovery system |
| Warranty on Work | None (unless shop offers) | Typically 12‑24 months |
| Risk of Mistakes | Higher for beginners | Low - trained staff |
When to Call a Professional
If you notice any of these red flags, it’s smarter to hand the job to a shop:
- Corroded or seized radiator mounting bolts.
- Complex cooling layouts, such as multiple radiators or integrated intercooler packs.
- Previous coolant leaks that may have damaged surrounding hoses.
- Limited access to a safe lift or sturdy jack stands.
In those scenarios, saving time (and avoiding costly re‑work) outweighs the labor expense.
Frequently Asked Questions
How many hours does a typical sedan radiator replacement take?
A front‑engine midsize sedan usually needs 2‑3 hours for a DIY swap and about 1.5‑2 hours in a professional garage.
Do I need to replace the thermostat when I change the radiator?
Not always, but it’s a good preventive move. If the thermostat is older than 80 000 km or shows signs of sticking, swapping it while the coolant system is already open saves an extra visit later.
Can I reuse the old radiator bolts?
Generally no. Bolts that secure the radiator are often torque‑to‑stretch and can become weakened after heat cycles. Replacing them with new OEM‑spec fasteners ensures a proper seal.
What type of coolant should I use after the install?
Follow the vehicle’s manual. Most modern cars require a silicate‑free, ethylene glycol based 50/50 mix. Using the wrong type can cause corrosion inside the new radiator.
Is it safe to drive the car immediately after the radiator is replaced?
Allow the engine to reach normal operating temperature and monitor for leaks. A short 5‑10 minute drive is fine, but avoid high loads or extreme traffic until you confirm no coolant is escaping.